Learn about the Do's and Don'ts of Using Glow Pigments
So your very first sample of Glow in the Dark Pigments has just arrived in the mail. Your really eager to test out this product you've never seen before. You wait to night time, place the pigments under a light globe for a minute, then turn off the lights and, oh no disappointment; The illumination is really weak. "Have I been ripped off"?
Don't let the above scenario happen to you. Read and understand this tutorial on using Glow in the dark products correctly and avoid any initial disappointment.
Glow in the Dark Fact-
When I received my first order of glow pigment it was about 11 o'clock in the morning. After spending a considerable amount of money I was eager to test the glow effect of the pigments. I held a one kilo bag of glow pigment in my hand in a rather dark room with the light on for about one minute. I then turned off the light and was disappointed because the glow pigments didn't live up to my expectations. Over many months that followed I continually researched glow in the dark pigment best practices and the following, will help anyone get up to speed on the correct use of this amazing product.
-
How to test glow in the dark pigments when you first receive them.
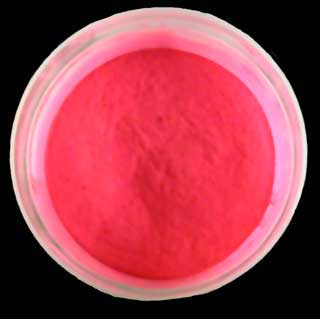
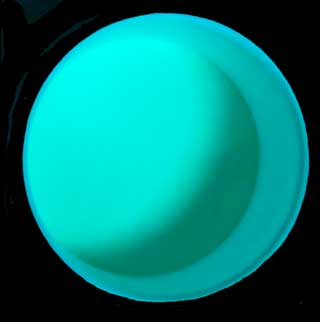
The best way to test their glow strength is to place the pigments either in sunlight, strong outdoor daylight, or under a strong indoor light for five minutes. We prefer sunlight and strong outside daylight as these two methods will give you the best result. After the five minutes is up, carefully pick up the pigments, and go to a dark area of your home trying not to move around the pigments to much; Only the top layer of pigments will be charged and any uncharged pigments will show up as dark patches when viewed. Note that the darker the area the better the display. Now if you have followed the above instruction correctly you will see the pigments in their full glory. Note that if you charged the glow pigments in a very bright place, for example in direct sun light, and then move to a dark area, the pigments will seem to not glow very well. This is because your eyes will need to ajust to the darkness before you will see them correctly.
-
Follow the above instructions, but you need to mix the pigment - Paint mix thoroughly first. Because the pigments are in a jar the effect will not be as good as it is for the glow pigments.
-
An alternative is to mix up the glow in the dark Paint mix thoroughly then paint a object for example, a white piece of A4 Printer paper, then place this in the strong light for a few minutes and the move to a dark area of your home to observe the result.


How to get Maximum Effect when using Glow in the Dark Pigments and Paints
- To get best glow effect, expose your Glow In The Dark painted items to the sun for 15 minutes. Items can also be charged under normal internal lighting but with a less effect. Even 10 seconds of sunlight will give off a really great glow effect.
- Use clear mediums with Glow In The Dark Pigments for the best illumination.
- Make sure you order the correct glow paint type for your project.
Don't Do
- Do not store or mix glow in the dark pigments in metal containers; use plastic or ceramic containers
- Use a wooden spatula or similar non metal object to mix pigments with paint.
- Do not make glow in the dark paint mix to thick.
- Try to avoid crushing the glow pigments when mixing
- Only mix the estimated amount needed. If you leave a mixed batch of glow in the dark paint mix to long it can set.
- Don't use darker coloured Paints with the glow in the dark Pigments as the colour will absorb the glow. Black is totally unsuitable to mix with pigments.
To Paint small items we recommend using Artists Brushes.
Note; Glow in the dark products will not glow in bright light conditions. The more light the less glow effect. Glow in the dark painted items will not glow in normal external daylight conditions. Street light intensity will effect the ability of glow in the dark products to glow.
